Months ago, on a field trip, I was discussing my research with one of the members of my committee. I mentioned I was thinking about incorporating some modeling into my work, and while I was thinking computers, he suggested clay. Nothing fancy, just using clay to deform some layers in a "back of the envelope" kind of way. I spent a lot of time thinking about it, especially as I've agonized over interpreting faults in my 2D seismic data. Would slicing a 3D model open at different angles help me figure out what things might look like in 2D?
Fast forward to this month, and I'm trying to get a preliminary version of a fault map done for my study area to go with a draft of my research proposal for my committee. I'm having a hard time committing to my interpretations (something I've struggled with since undergrad, when I always said I needed more data for my subsurface geology labs).
Seismic is an amazing tool, but I love being a geologist because it is so tactile. I decided I needed clay. It arrived today. This just might replace colouring as one of my favourite things about being a geologist (although nothing will ever replace being in the field at the very top of the list).
 |
| A new package of modeling clay! |
I don't think I actually expected to solve my interpretation problems the first time I played with my clay, but after spending a bit of time working with it, I wasn't sure I was going to solve any problems with it.
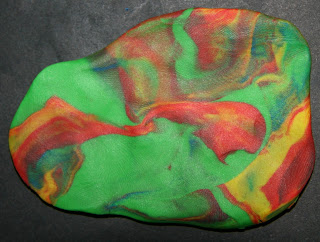
Using 2D imaging to look at a 3D world is a problem in geology, not only when you're looking at seismic, but often when you're looking at the face of an outcrop. It's easy to misunderstand what you're seeing because you're not seeing the whole picture. Something that looks like this from one angle:
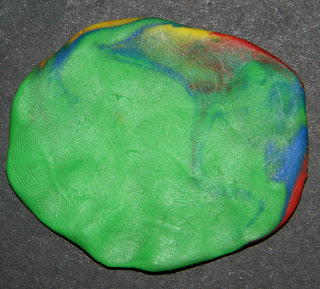 |
| One side of a smooshed ball of clay |
looks like this from another angle:
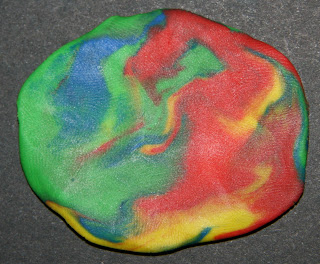 |
| The other side of the same smooshed ball of clay. |
Before I got to the point where I had the colourful smooshed ball pictured above, I started out making some layers. My first goal was to create a horst so I could look at what the structures looked like when sliced through at different angles. I used small blocks of clay, about 1" "square" so there will be lots of fresh colours left for me to work with another day.
 |
| Strata |
Of course as soon as I made these layers I realized I needed a "block" to build my horst around, so I peeled off one layer and made a "basement block."
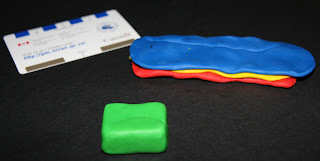 |
The green block is going to be the basement block of the horst
|
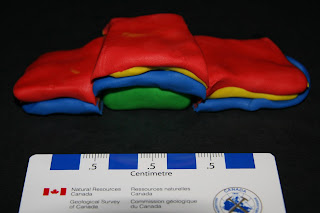 |
| My first clay horst |
I cut into the clay to make fault planes. If I was trying to figure out actual fault kinematics, I would need to deform the clay, not cut it into neat planes. But that's a problem for another day. What I wanted to see was what a fault would look like when cut through at different angles. The first thing I noticed is that
a serrated plastic knife wasn't the best choice for cutting faults, because it smeared the layers (or should I say sheared?), but maybe that's more realistic anyway.
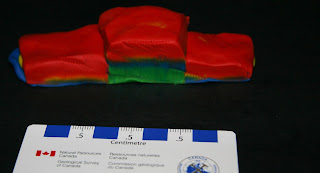 |
| A perpendicular cut through the horst. |
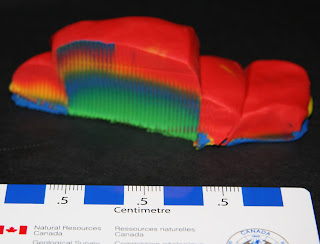 |
| An oblique cut through the horst. |
 |
| An overhead view of the oblique cut through my horst. |
The other thing I noticed was that the faults still looked like faults and the horst still looked like a horst. I probably should have tried more angles but at that point I was disappointed because I felt like I hadn't really figured anything out.
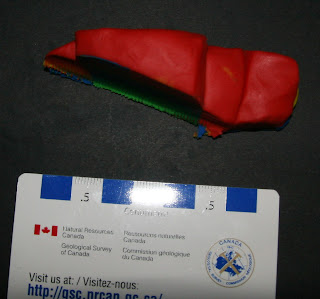
A lot of times, when I'm looking at a highly faulted section in my seismic, I feel like I'm trying to figure out the evolution of something like this:
 |
| Interpreting structural evolution on seismic sometimes feels like trying to interpret this. |
I wasn't thinking about it as an apparent dip problem at that point, but while I was cleaning up my clay, I realized that's exactly what it was. Apparent dip is about more than just the dip angle. When you're looking at seismic, the same fault will have different apparent dips on different seismic lines, especially with a 2D seismic dataset. This is really, really important to keep in mind when I'm correlating faults across 2D lines (and across different vintages of seismic).
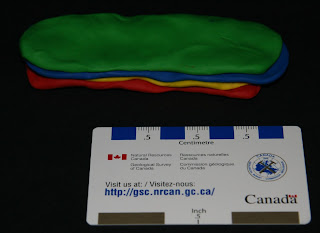
The other result of my brief foray into modeling today was that I made some new colours to use for next time (because there will be a next time).
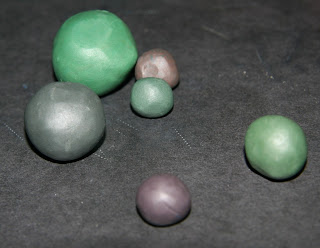 |
| Some of the pieces of my fault block as new colours for next time. |


No comments:
Post a Comment